Basic Mobile Workbench: Day 1
It has been two trips to Home Depot. I picked up an impact driver combo set and a 2×4 on my first trip. For the second trip, I realized that I needed yet another 2×4 and that quarantine has become a growing possibility, so I grabbed the lumber for the next two projects, in addition to some star-bit hex screws.
Saturday afternoon was blessed with some pretty nice weather, so I set up shop in the driveway again. But before I tell you that story, I’ll tell a brief story. A few years back, this dad had younger children and even less free time and decided he’d be best off ordering a workbench kit online. The box showed up in pieces, and the Amazon merchant was sufficiently inept about making it right that Amazon gave me a full refund, and I was left with half a workbench kit. The various bits were nice enough that they’ve been sitting in the garage for a few years. This is a long way of saying I had a nice top for the workbench, and I have adapted Steve’s plans to fit that top. And free up a little room in the garage, which is one of the big objectives here.
Last time around, I had cut the cross pieces to 18 10/16″ to fit the workbench top. Between that and cutting longer legs to suit my preferred working height, I had used up all the 2x4s, so I needed another piece for the stretcher beams. Then I realized the cross pieces sit within the stretchers, and I had to trim each cross piece by 3″. Oh, and that I’d need another 2×4 because there are also stretchers at the bottom. All that’s to say that mistakes were made and material wasted. Price of education, I guess.
I chopped several 2x4s. I noticed that not all the cuts were perfectly square, thanks in part, I believe, to an imperfect fence. Close enough for now. I also noticed that the boards are … not perfect. So, I spent a little more energy checking the cross pieces and flipping them to whatever orientation fit the fence most flush. Education.
Then I got to screwing the legs together. Last time I had to drill two holes before sinking the screw. This time, with the impact driver and a set of star-bit deck screws, the drills went into the wood like a knife through warm butter. The deck screws have their own nuance. At first, I have to try and hold them straight as they get started in the wood. After a bit, they tend to sink right in a way, and at the end, the impact drill makes its impact drill noise, and I can get the head just under the wood. Ahhh, flush!
And no more wrestling with a chuck key.
The first corner of the leg assembly is easy enough: make the pieces square, hold them firm, and drive the screws straight. As you get toward the fourth corner, the job gets trickier: lining pieces up square and flush and holding them in the right place gets trickier. On one corner, whenever the screw made it through, it would shove the piece over a bit. Steve makes it look easy, but this mere mortal got to busting out the clamps to help get pieces squared and held still.
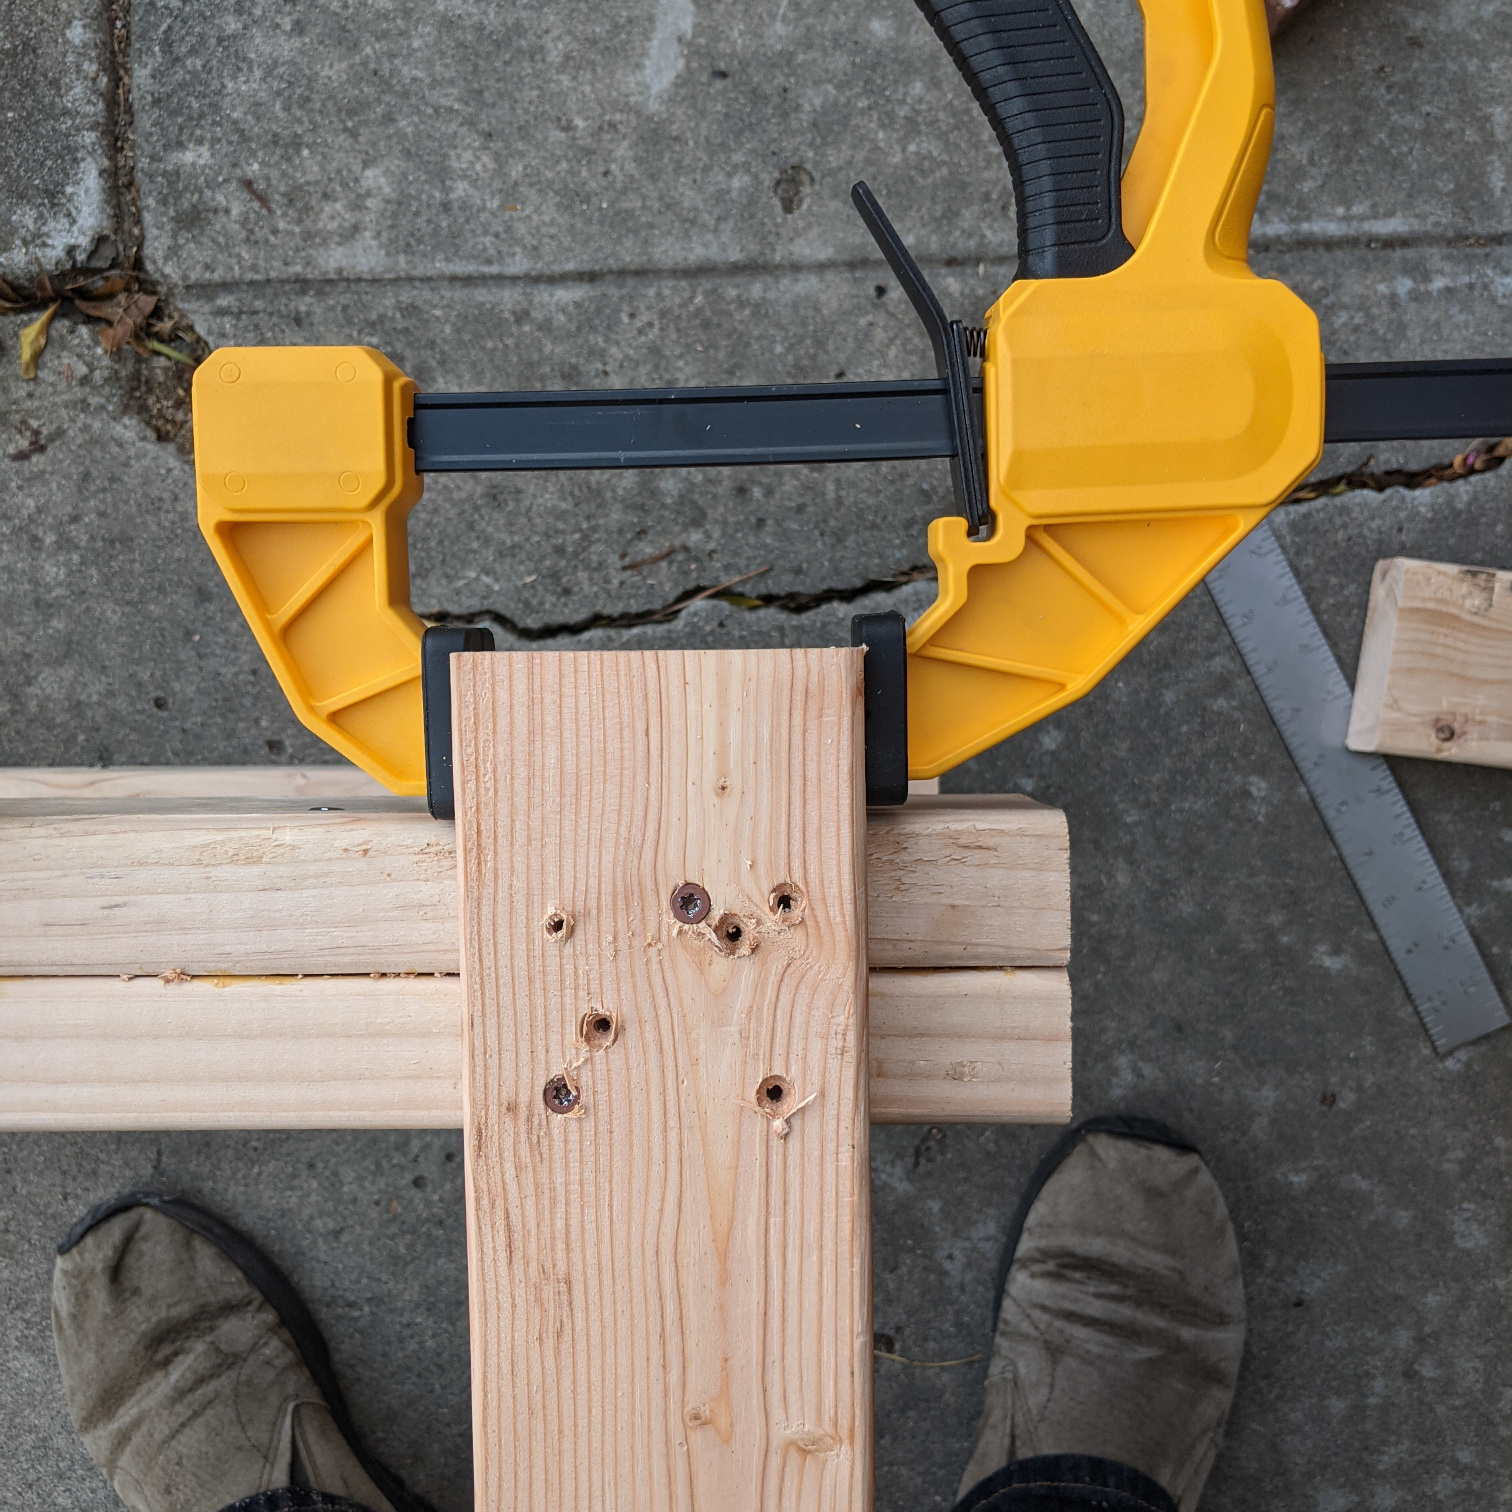
You can see this corner put up a fight, until I got a clamp involved.
When assembling the frame, I needed to really push the legs apart to host the last stretcher. A neighbor came by and suggested using a shim to give the clamp something to grip. Finally, the frame was together, and the top just popped right on top, easy, and sufficiently snug.

The stretcher wanted to move in the direction of the blue arrow. The clamps, with the help of a shim, held things right.
I can see all the imperfections. On the one hand, imperfections are kind of a bummer. On the other hand, anyone who creates something tends to have the best awareness of their own imperfections. Fair enough. But more than that: I’m learning. Nobody starts perfectly. The workbench is good enough.
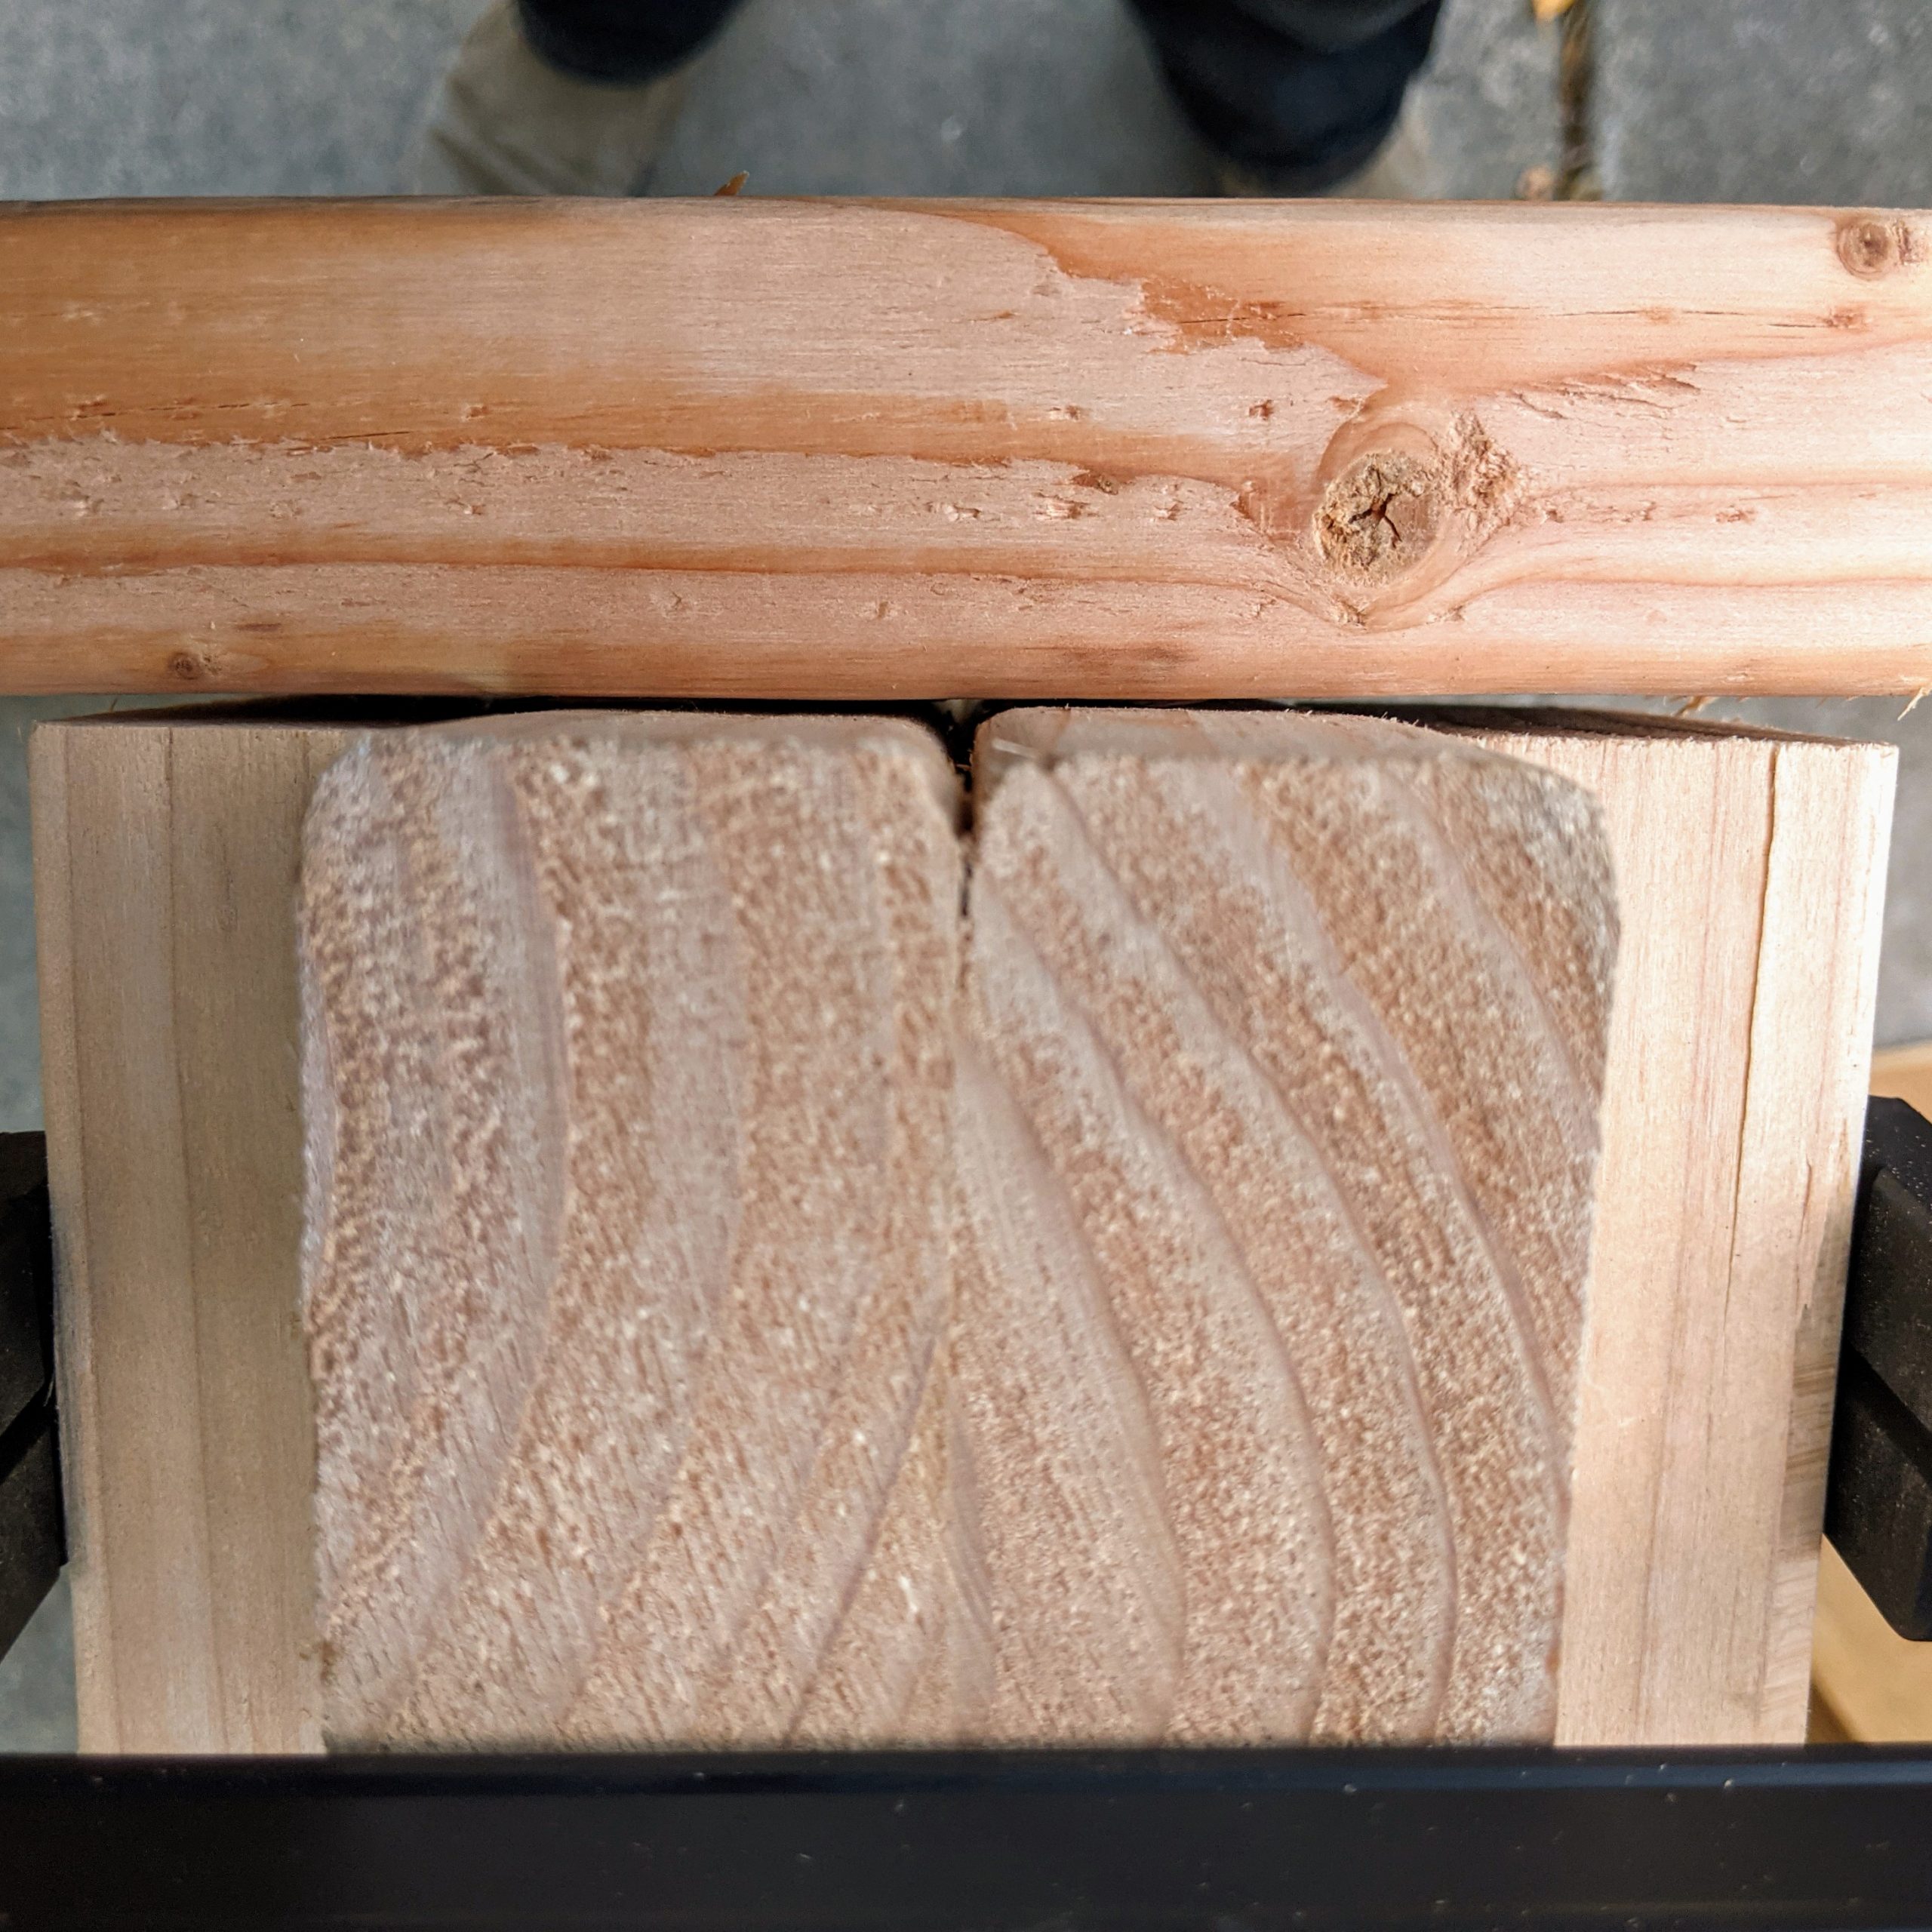
Solid enough but damn these gaps!
The other thing that raises a brow is just how high I’ve built the workbench. I had held my forearms out at 90 degrees and measured the height from there. 46″ is high, and that’s where I set my standing desk when standing. I don’t like bending over. Two open questions are: is a comfortable standing desk height also a comfortable workbench height, and is this narrow workbench going to be stable at this height? The neighbor and I discussed how best one might trim 2″ off the legs beneath the bottom brace. Time will tell.
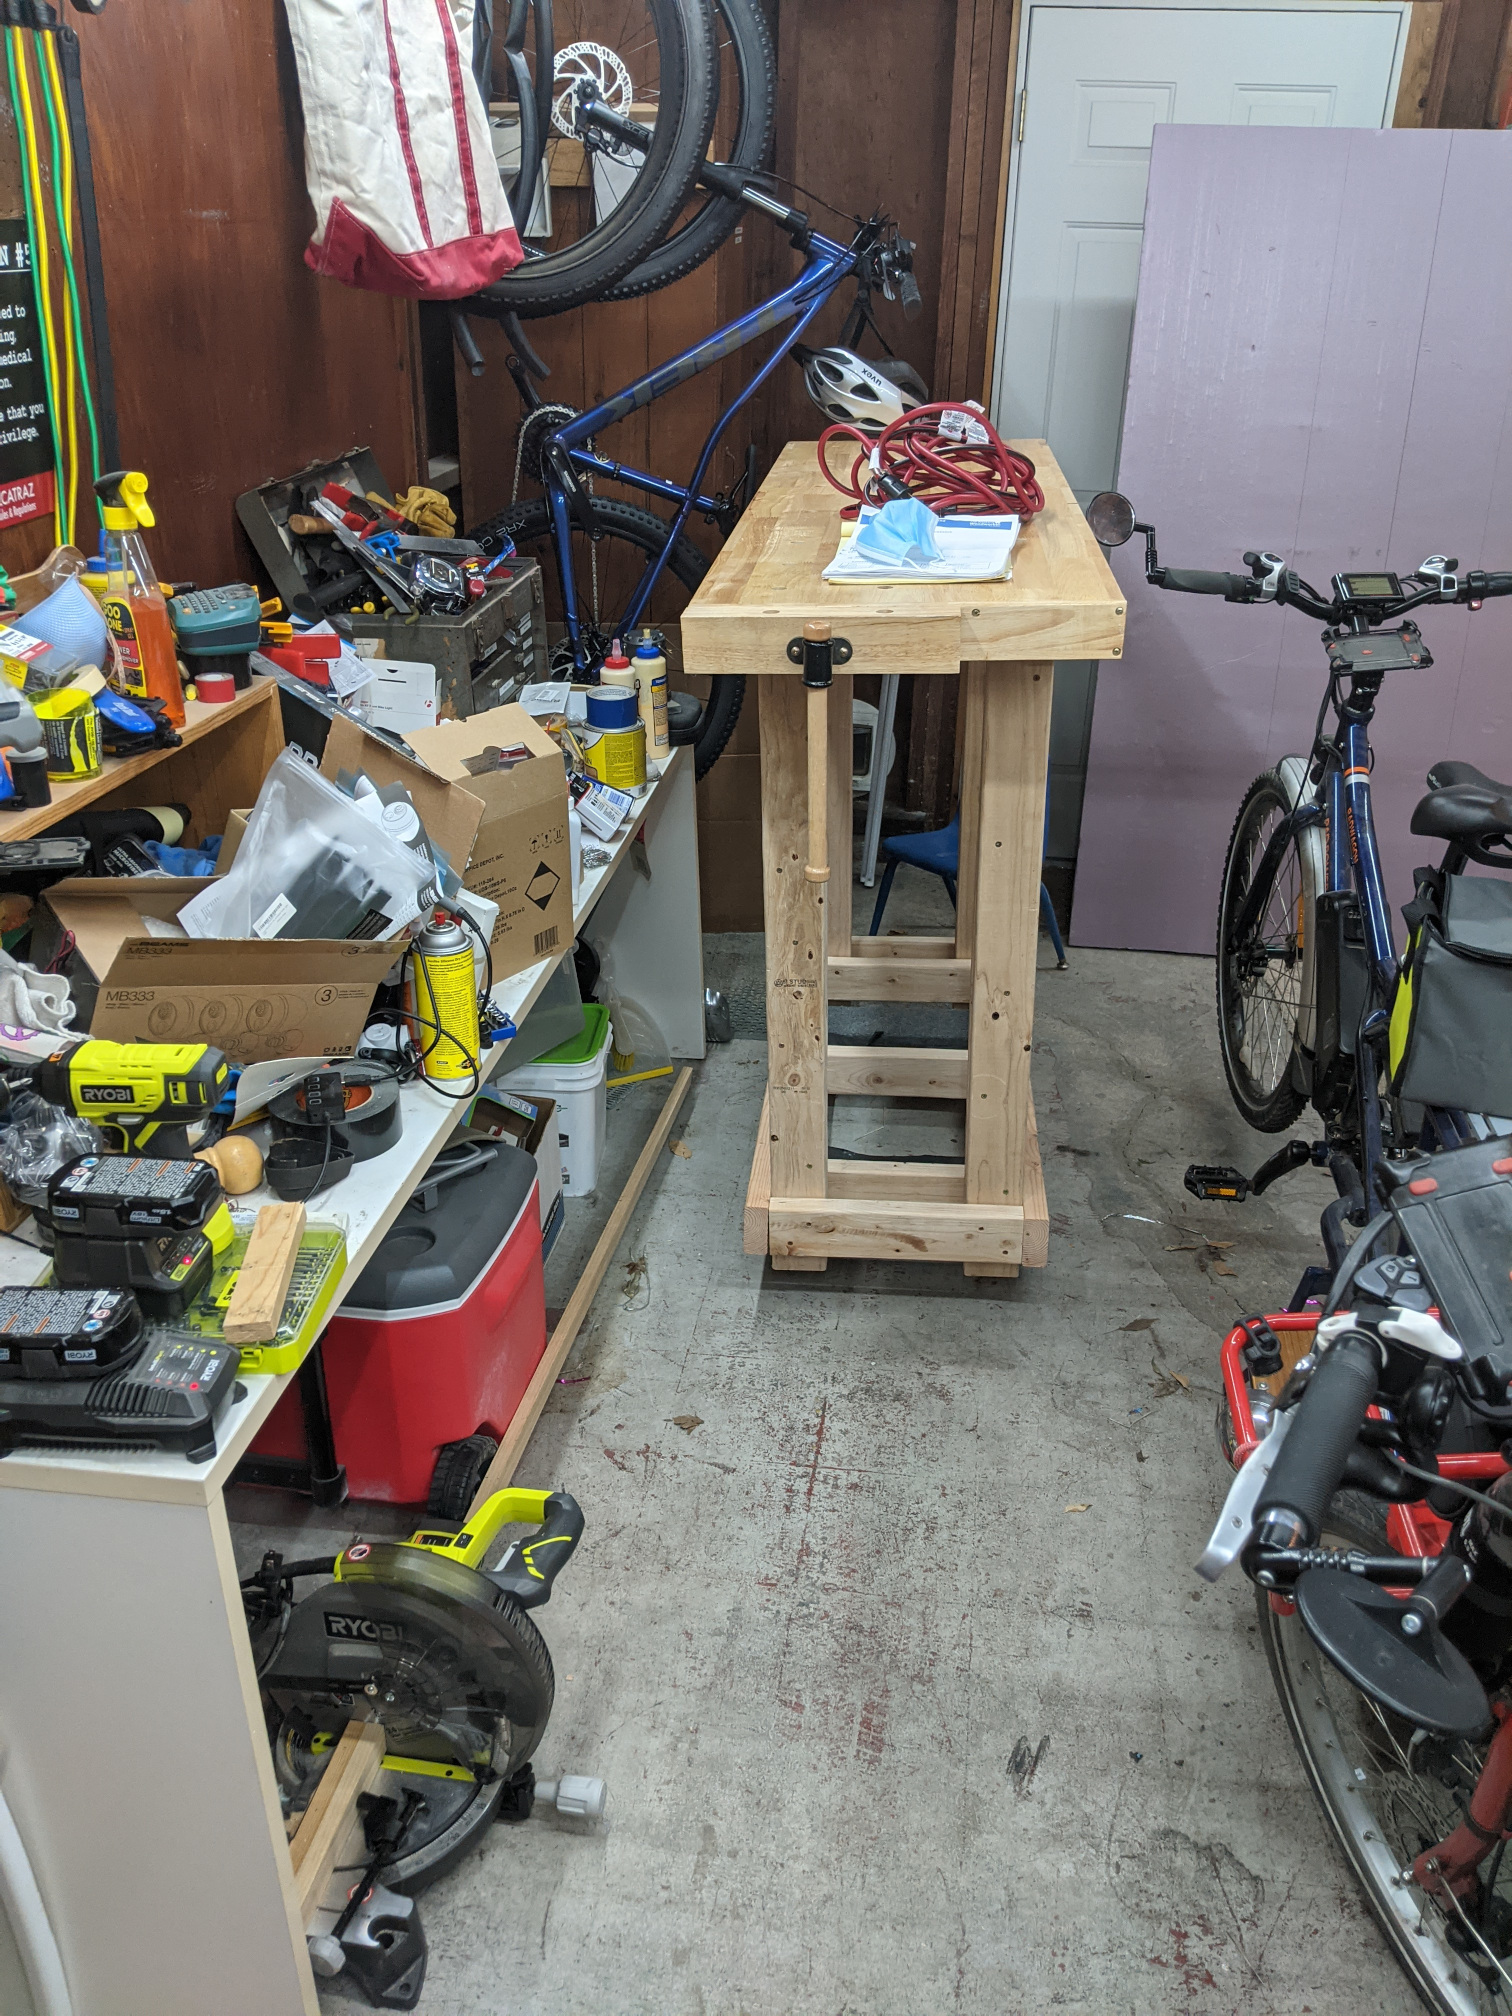
The workbench will replace the white table on the left. It needs to store some of the more useful stuff there. This will free up enough room to hang another bicycle.
When screwing in the cross pieces, Steve explained why his design has five at the bottom and three at the top. For one, the bottom has to hold the shelves’ weight, but for another, more cross pieces at the bottom lower the center of gravity.
For Day Two, Ramsey’s plans call for cutting up a plywood sheet with a circular saw to build shelving and a workbench top. I already have a workbench top and a cache of dimensional lumber, so I will take my own approach to the bottom shelving. One thing to think over is what do I want to store in the workbench—heavier stuff at the bottom. The workbench kit I had came with some nice, felted drawer bottoms, but half the drawer pieces are missing. I’ll probably just do open shelving and throw in a good number of 1×2″ shims to allow for adjusting the shelf heights.
Comment
Tiny Print:
<a href="" title=""> <abbr title=""> <acronym title=""> <b> <blockquote cite=""> <cite> <code> <del datetime=""> <em> <i> <q cite=""> <s> <strike> <strong>