Basic Mobile Workbench: Day 0
I enjoy building things. I learned a few things in my uncle’s basement and Boy Scout activities, but my high school didn’t offer shop class. In college, I discovered computer programming, which allowed me to build computer programs quickly, with a fairly low cost-of-entry. Information Technology is also a lucrative career choice.
A few years back, my IT career, aided by the mortgage crisis, helped me achieve the impossible: we bought a house in Silicon Valley! Our one-car garage is just about perfect for anything but parking. I enjoyed puttering on small weekend projects, but soon we had first one kid and then two, and with that, no more free time for extended puttering.
My ambition has still been to have a little workshop where I could build some things. I found a local woodshop that offered classes. I got to build a spice rack. Then their rent went up, and the workshop closed. The classes moved to a local community college, whose administrative procedures leave much to be desired.
Besides, what I really wanted was to get set up at home. For the years of early parenthood, I lacked the time and energy, and often, the budget. The bootstrap from a messy garage to a functional workshop is daunting. After the kids are in bed, sit back in the rocking chair, and flip around YouTube videos.
YouTube served me up some woodworking videos. There’s a lot of dudes out there making things with resin. Whatever. Then Steve Ramsey came along, explaining all the bits and pieces of basic woodworking. Along the way, he gently hawks his online courses. You know, if his regular YouTube videos are so informative and engaging, maybe the $150, what you might expect to pay for a weekend workshop or two at the local shop, might be worth a shot.

With my COVID haircut, flannel shirt, and eyeglasses fit over safety glasses, I am ready to rock the shop!
I am now about 2/3 of the way through the first day of building what Ramsey calls the BMW: Basic Mobile Workbench. The online course is nicely laid out, including diagrams, materials, how-to videos, and cross-references to skills. On my first day, I made a trip to Home Depot for supplies, but the actual work got hijacked by a busted kitchen faucet. Priorities! I spent time poring through the miter saw manual. Anything that can chop fingers off is worthy of a solid understanding.
A week later, today, I made another trip to Home Depot. Having reviewed the materials again during the week, I figured I could use clamps, squares, and, most critically, an extension cord. I carefully unpacked and assembled the miter saw, made myself comfortable with its operation, and got to work trimming 2x4s.
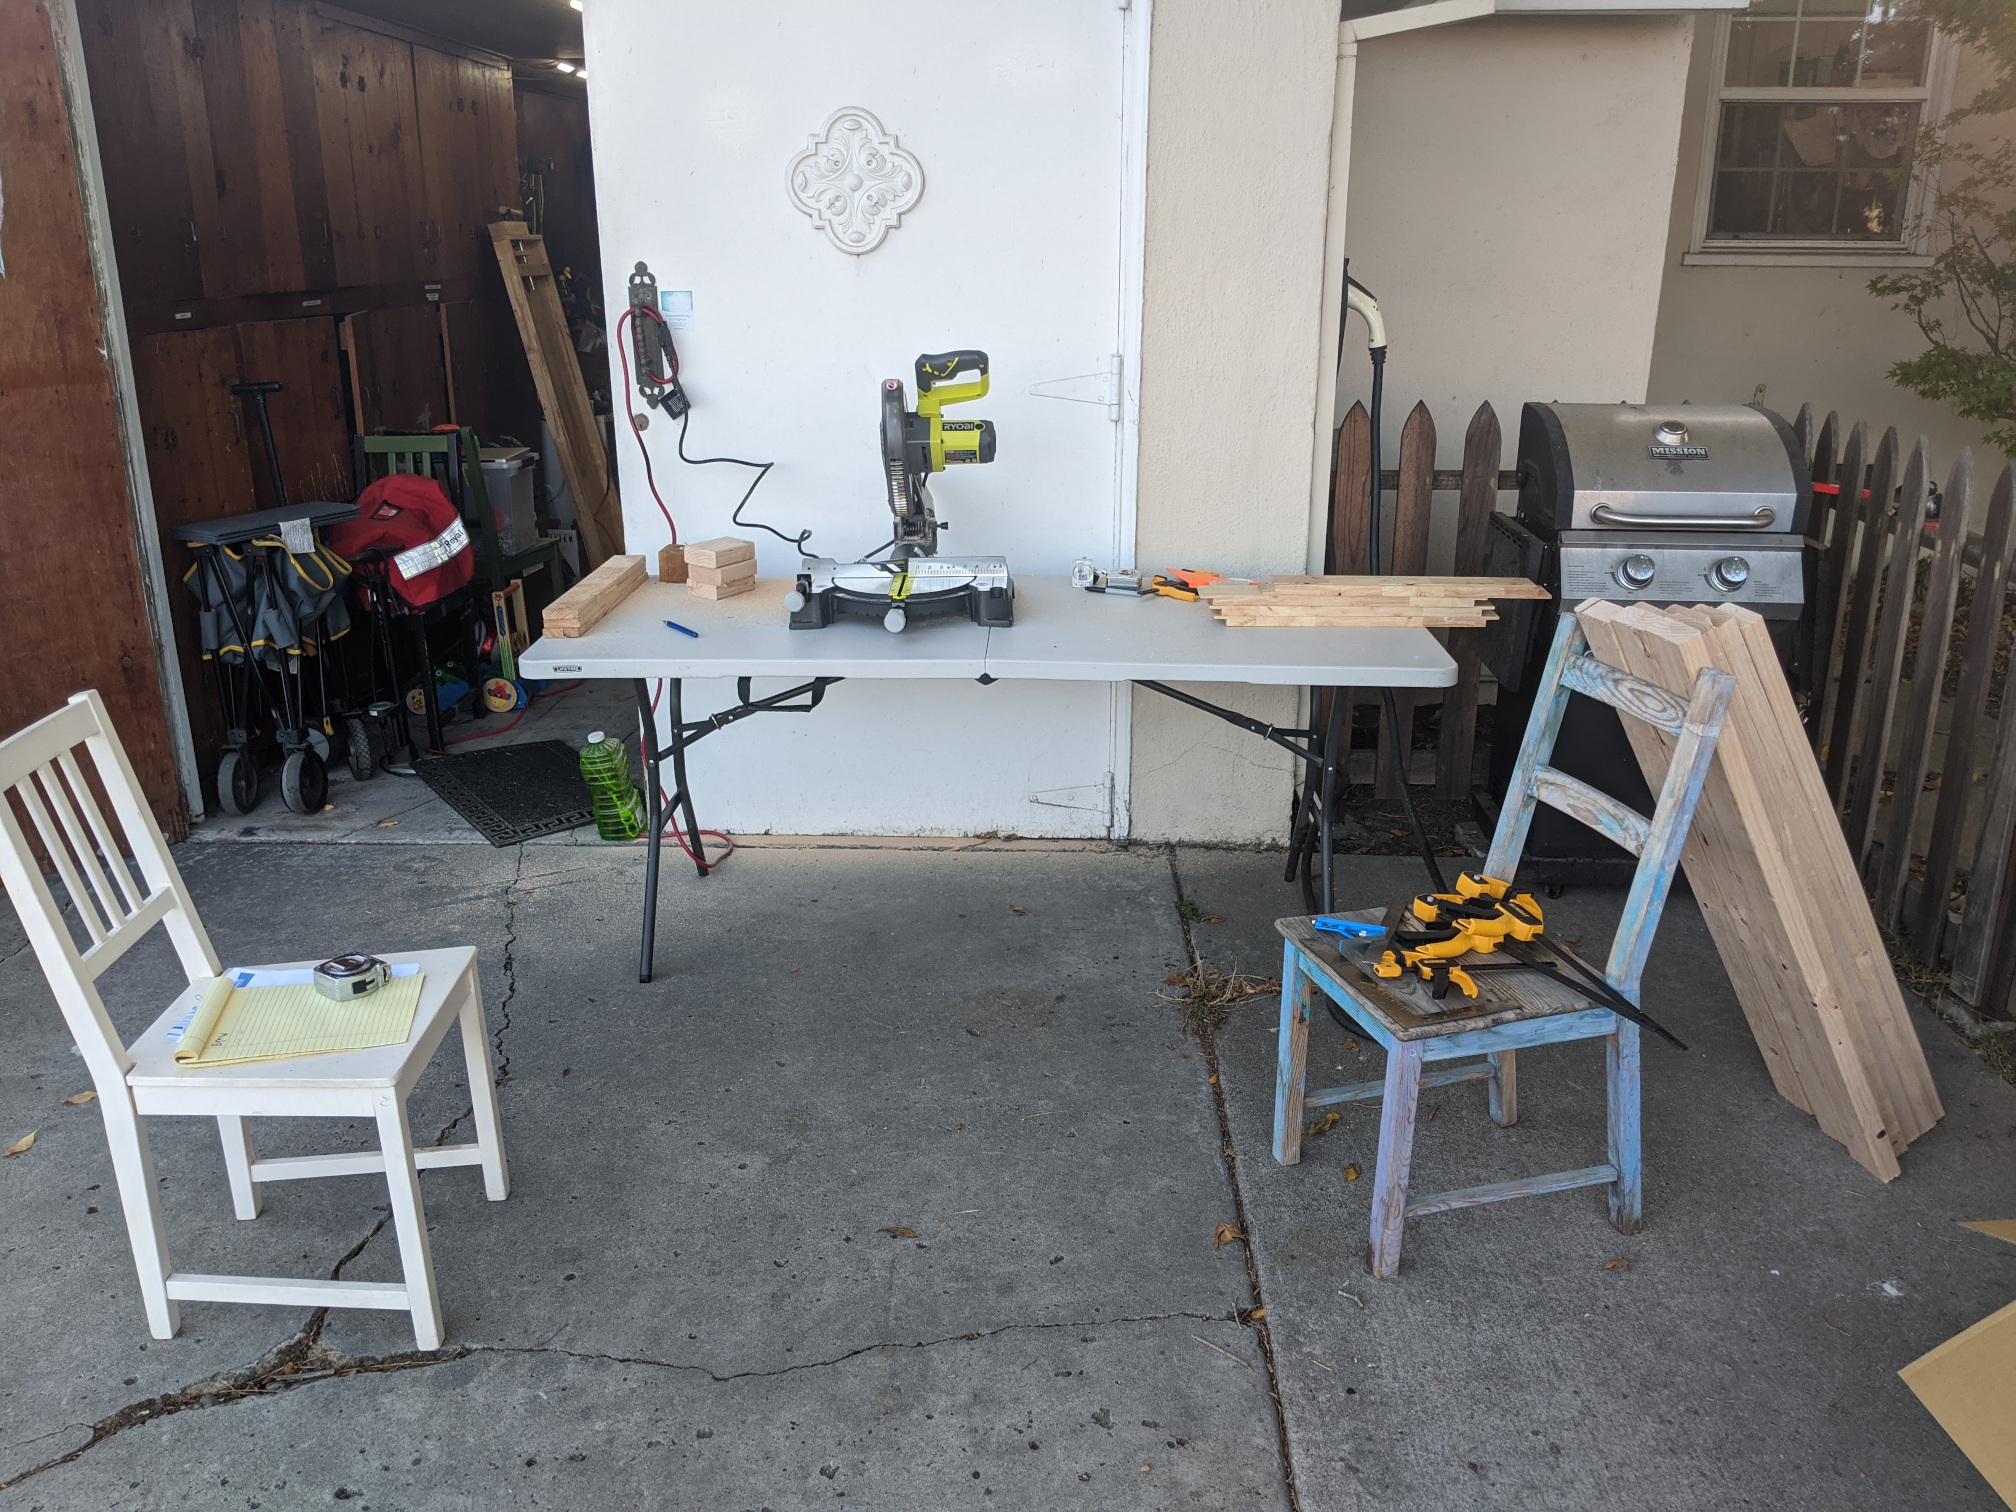
Bootstrapping a workbench: miter saw on a folding table in the driveway.
To build the legs, Steve glues two 2x4s together, then clamps them steady and secures them with screws. Things got frustrating when I tried to screw the 2x4s together. The screw wouldn’t go all the way in. Okay, I can drill a pilot hole. The drill bit got wedged in the wood. I worked it out with my vise grips.
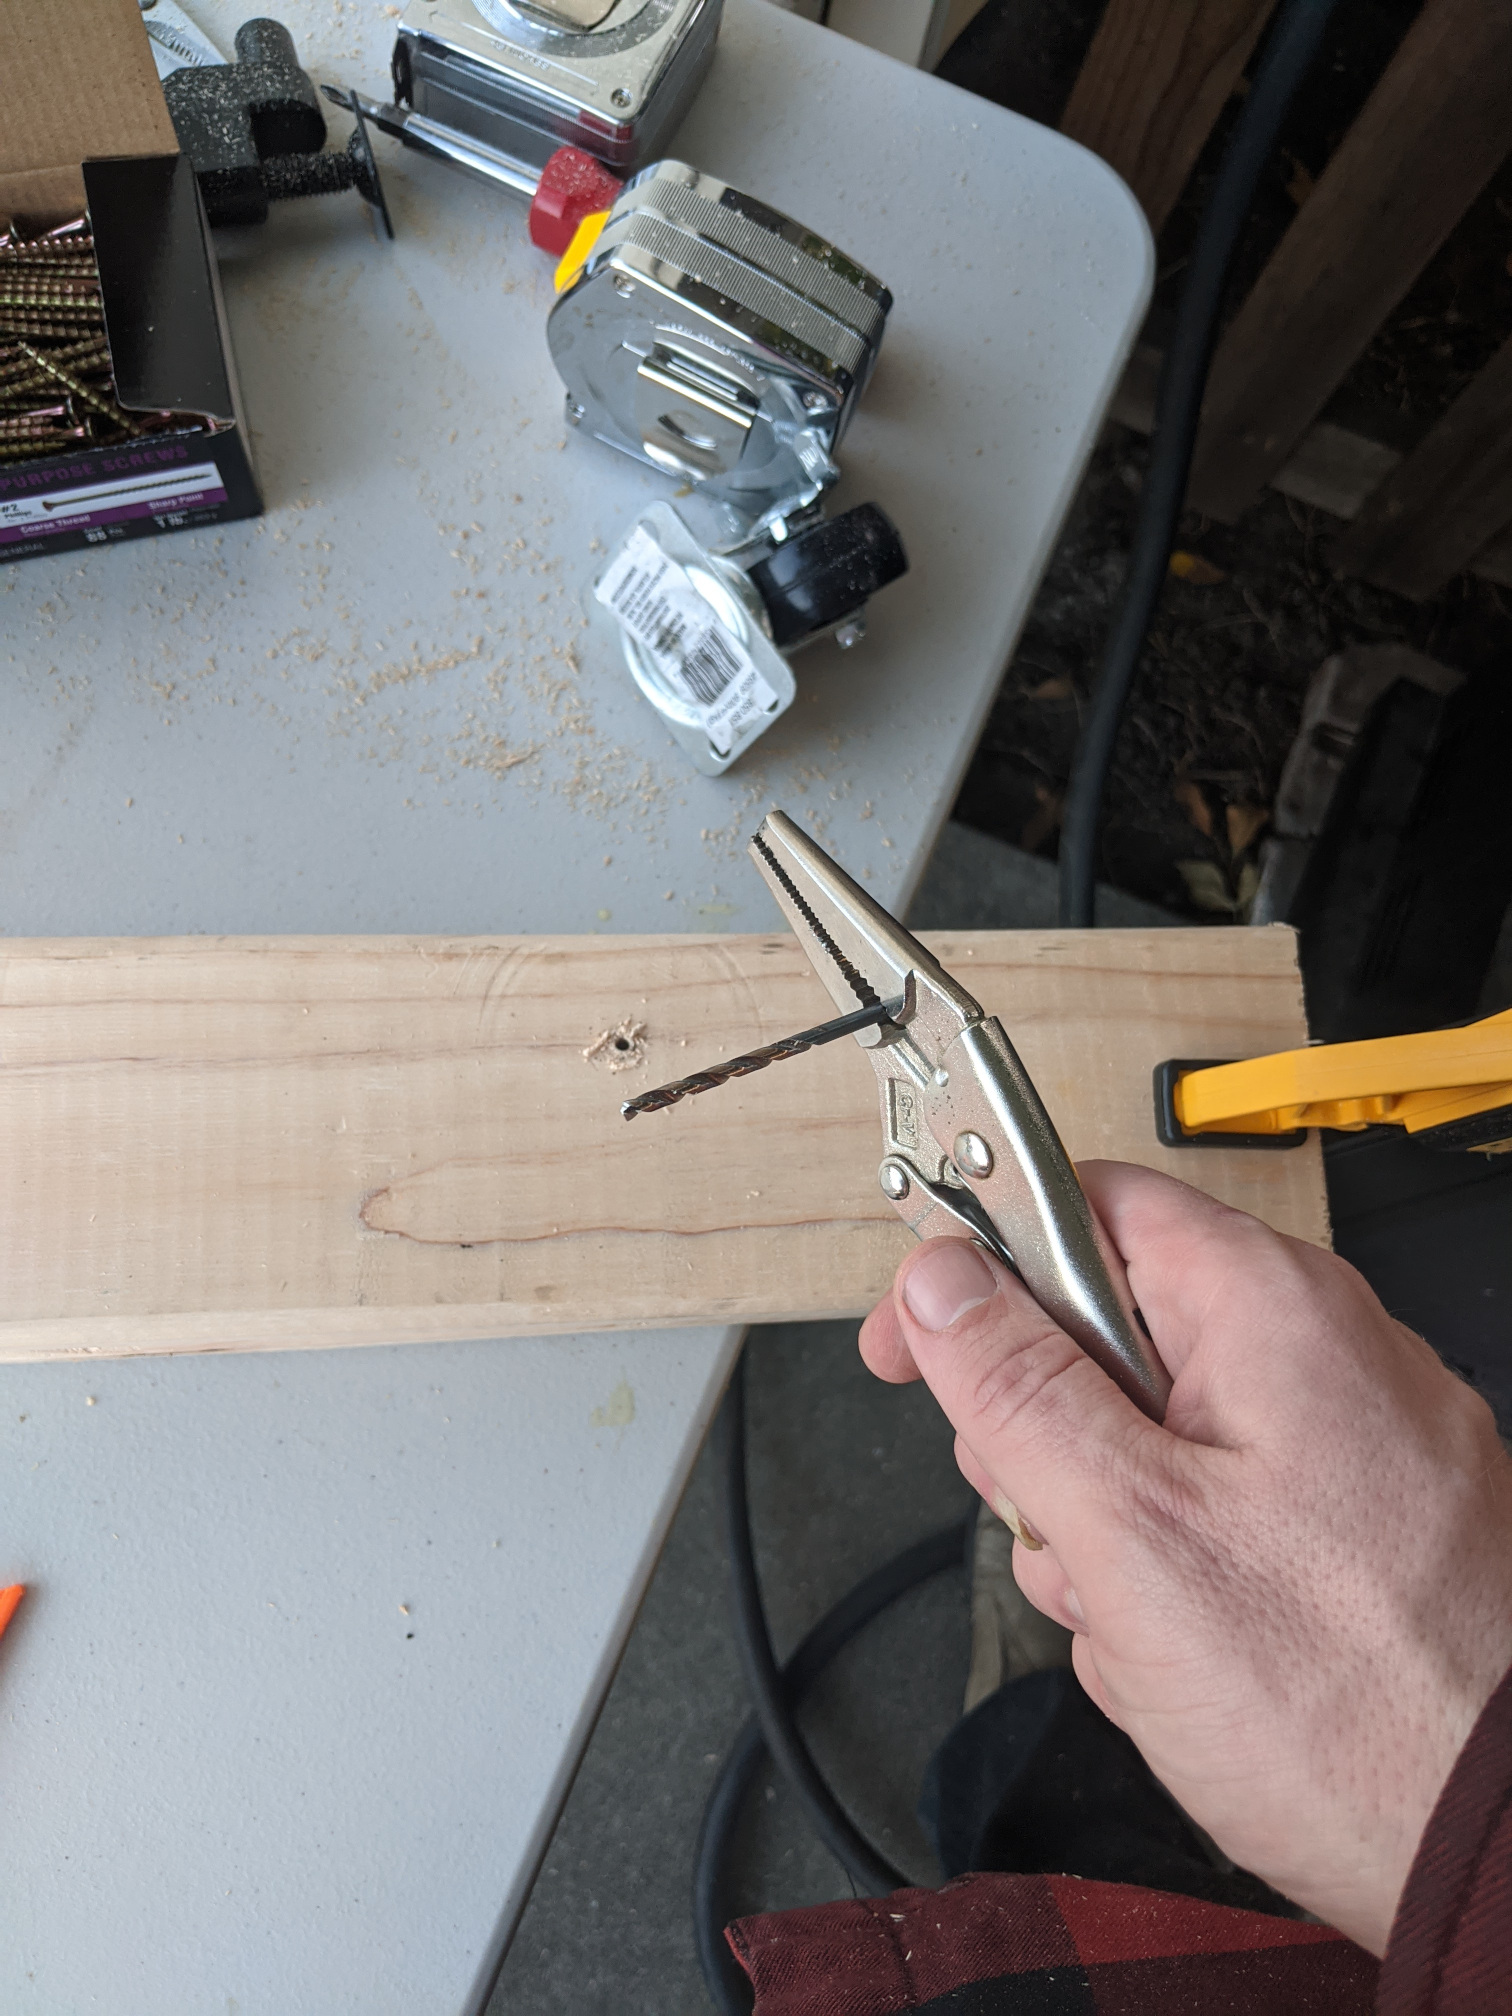
The humble vise grip is an indispensable tool!
Google led me to a link that explained that one needs to tighten all the holes with the chuck to really secure the bit. That helped. Another video had a guy explain that in addition to a pilot hole, you want to drill a slightly larger hole through the top piece of wood. Experience proved this out. So, to drill a leg would require multiple bit changes. I was tempted to run to Home Depot for nicer tools, but it was getting dark. Fortunately, I had enough clamps that, after I struggled through the first leg, I could do the next three legs in a batch. I only had to swap bits three times for the batch instead of for each leg.
Ramsey touches on most of this information in his course material. He shows how he uses some fancy star-bit screws and links to a video that explains how to screw things and what a wonderful thing an impact driver is. I thought maybe his materials could be more explicit: “you should really consider an impact driver, and these cool star bit screws.” However, I appreciate that all the information isn’t served to me on a silver platter. An important part of building things is overcoming challenges along the way. And in an age where many basic problems are quickly solved by asking a smartphone, working through an efficient process to get the legs drilled “the hard way” was very rewarding.
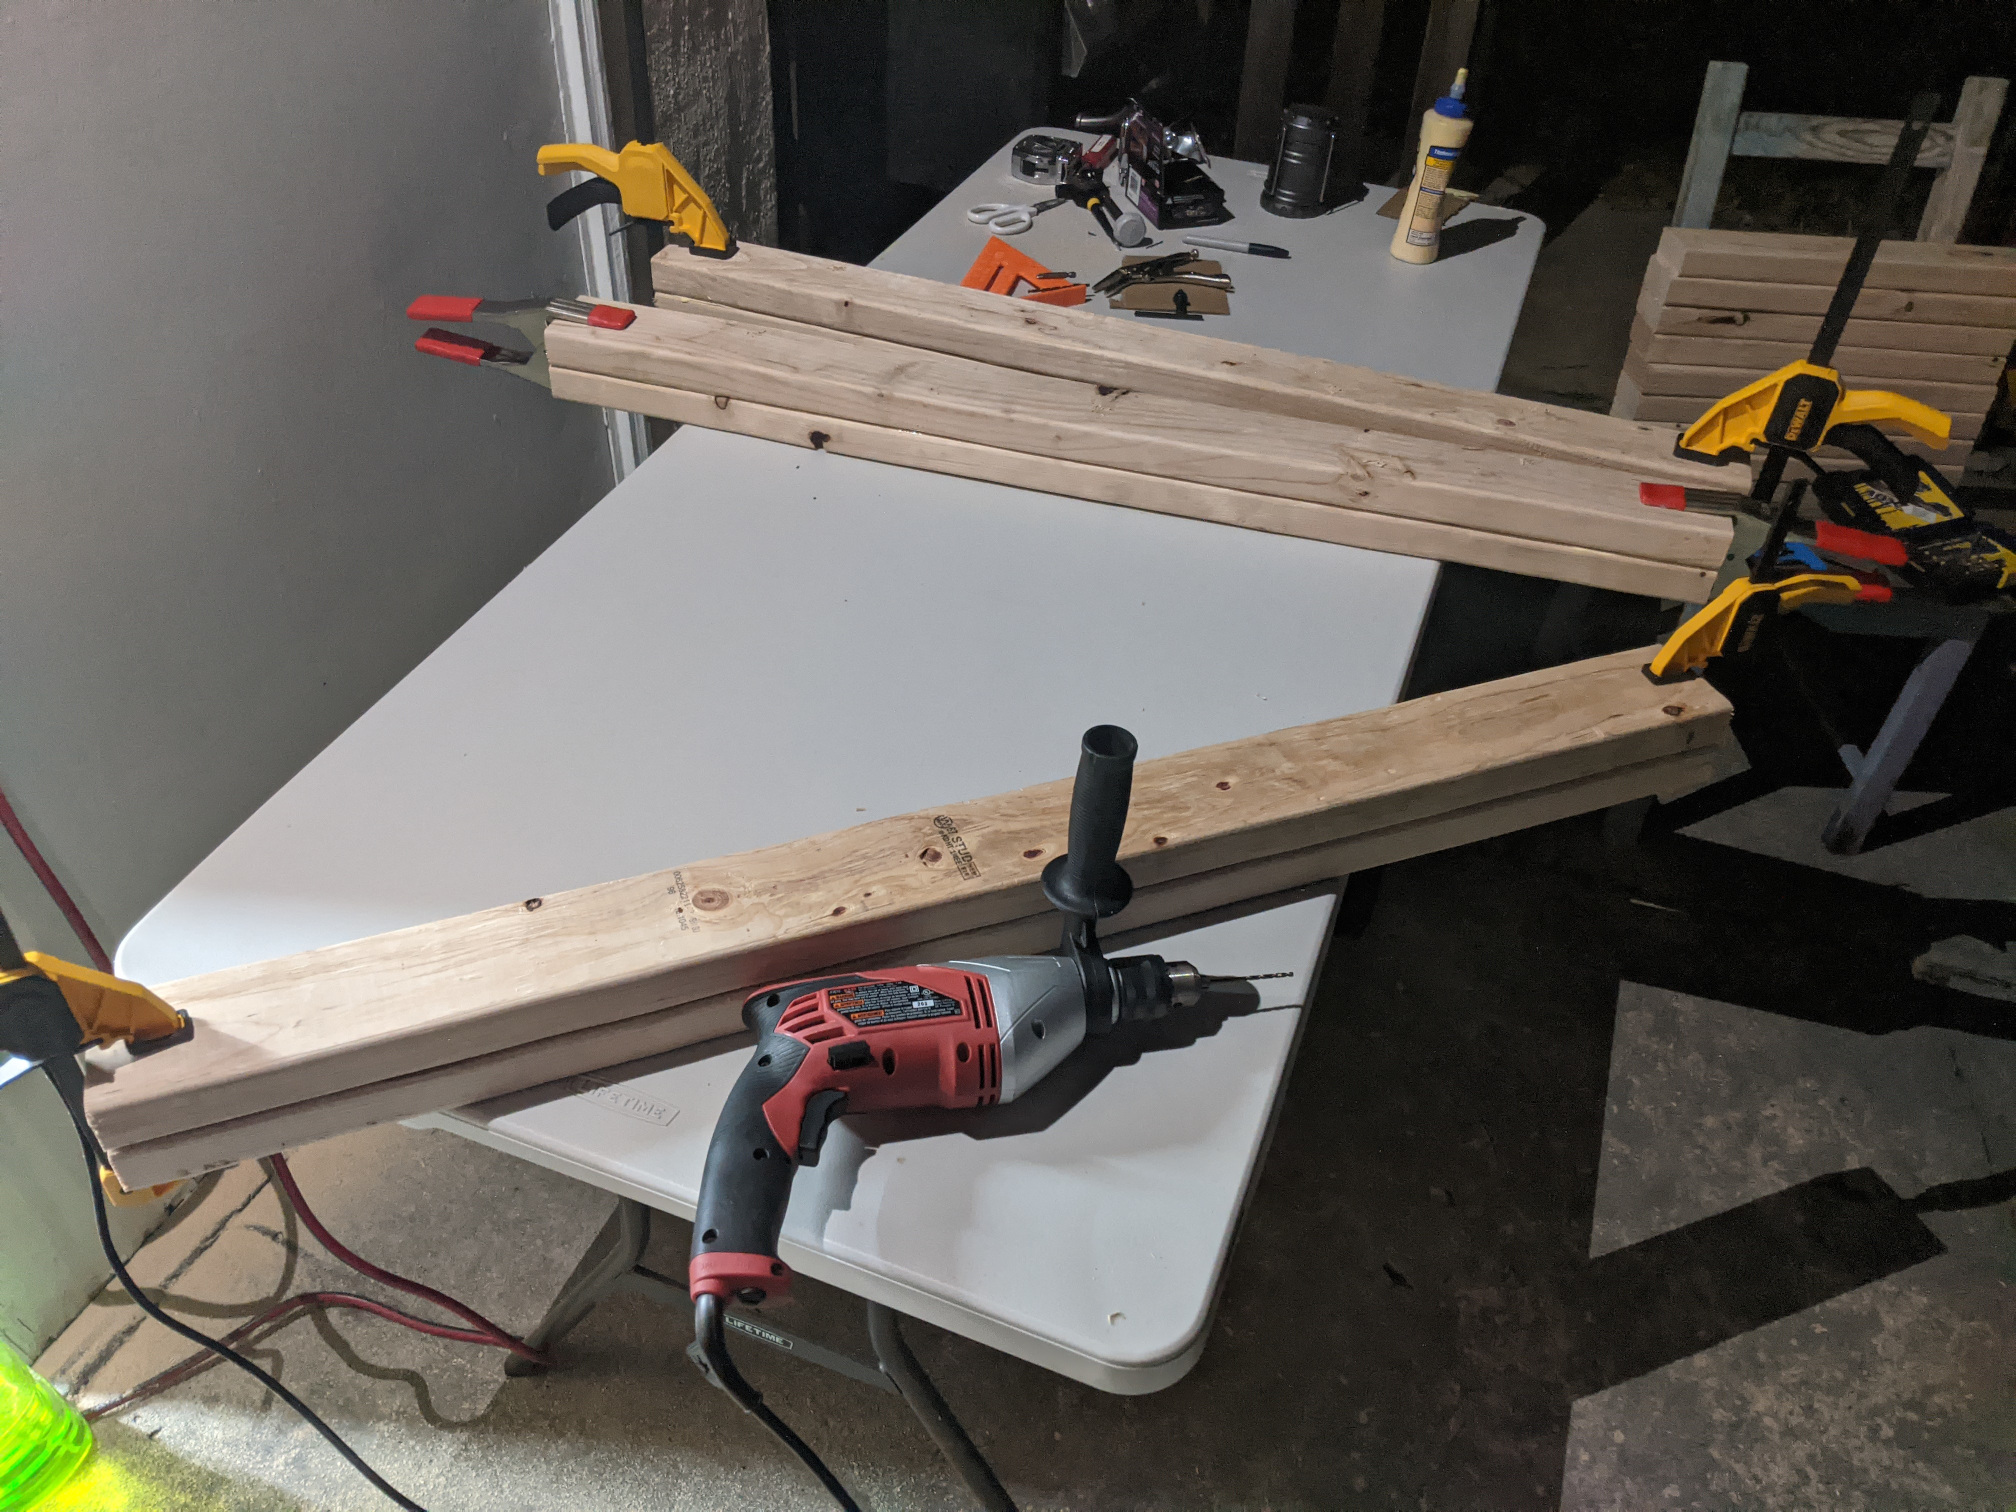
What one lacks in fancy tools, one can make up for with a degree of cleverness.
The Silver Platter was a concern I had with learning basics at a professional woodshop. “Here kid, take this fancy wood we got you and run it through the planar like so before we get to the nice Saw Stop table saw. We’ll make sure you folks get to use the drill press, too!” That is a nice way to put your toe in the water and taste the possibilities, but I am not going to have all of these things in my little garage, so … Steve’s course has the first few projects relying on the miter saw. At the end of the day, the online course puts more responsibility on me as a student. It is more daunting than an off-site shop class, but it teaches me more of what I really need and want to know.
Since I am a Tall Dude, I made my legs longer than in Steve’s plans. I started with 44″, but after squaring off the leg ends, I had to settle for 43 1/2″. This means I need to pick up one more 2×4 to finish off the frame. While I am at the store, that might be a good time to pick up an impact driver, possibly even some fancy star screws.
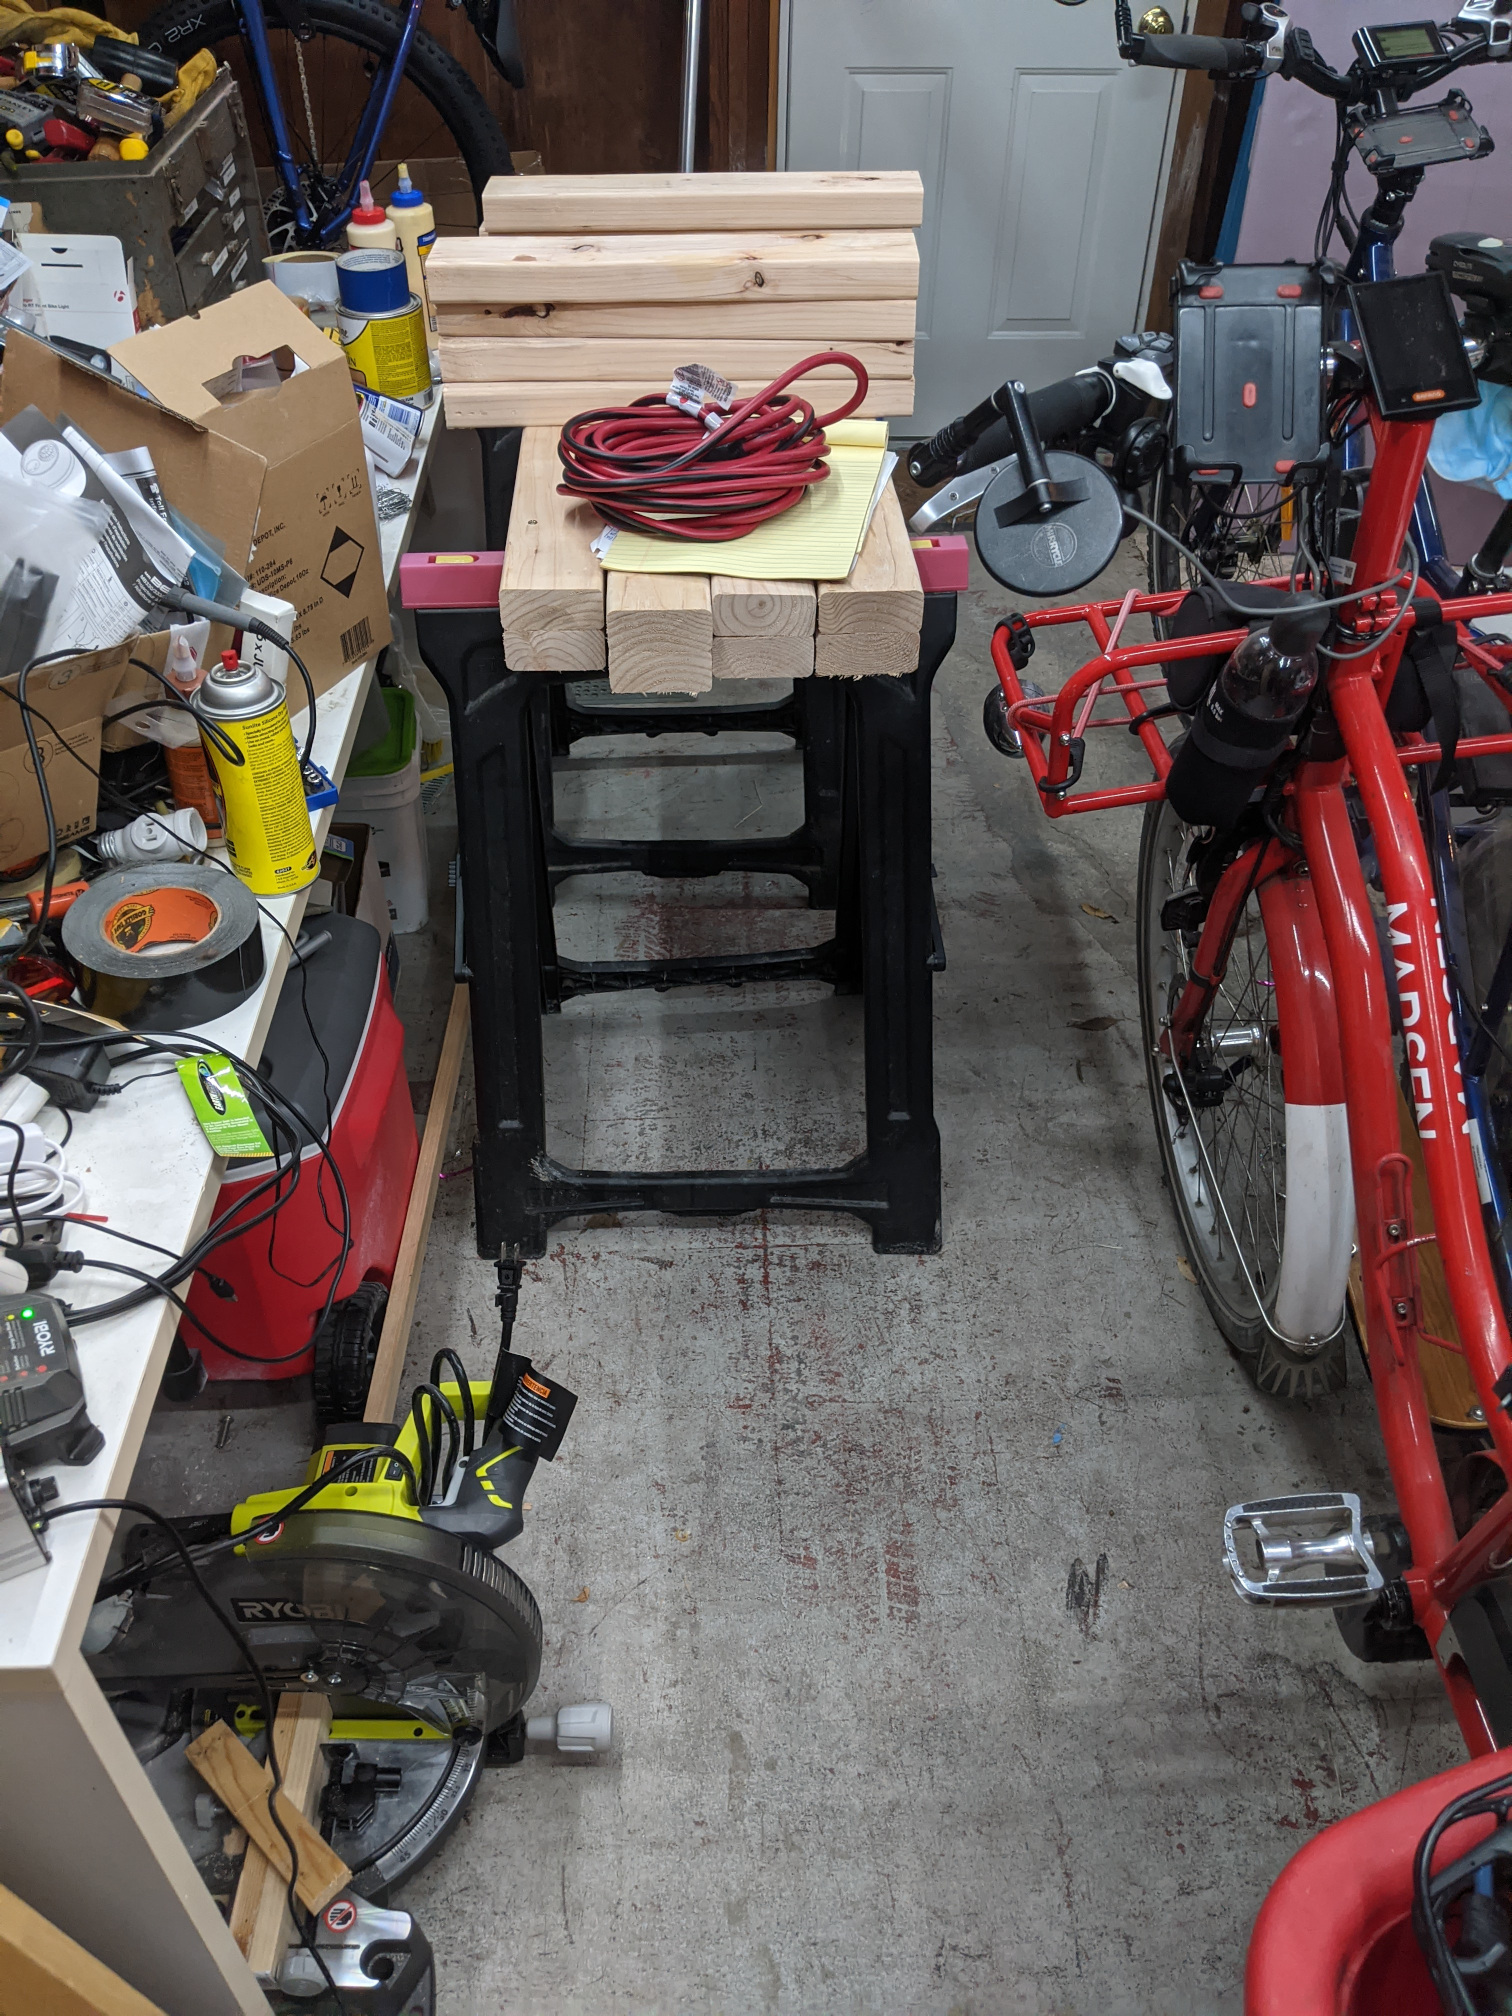
The garage is a mess, but the BMW project is stacked nicely for the next work session.
As I said, it was getting dark, and my better half had dinner cooking. I couldn’t finish the “Day One” process of screwing the frame of the workbench together, and it will probably be another week before I can pick this up again. I stashed everything neatly away, and I am looking forward to finishing off my first project … before the year is done, for sure!
Comment
Tiny Print:
<a href="" title=""> <abbr title=""> <acronym title=""> <b> <blockquote cite=""> <cite> <code> <del datetime=""> <em> <i> <q cite=""> <s> <strike> <strong>